Main Content
Guide - Installing and using KeePass
Creating a new database
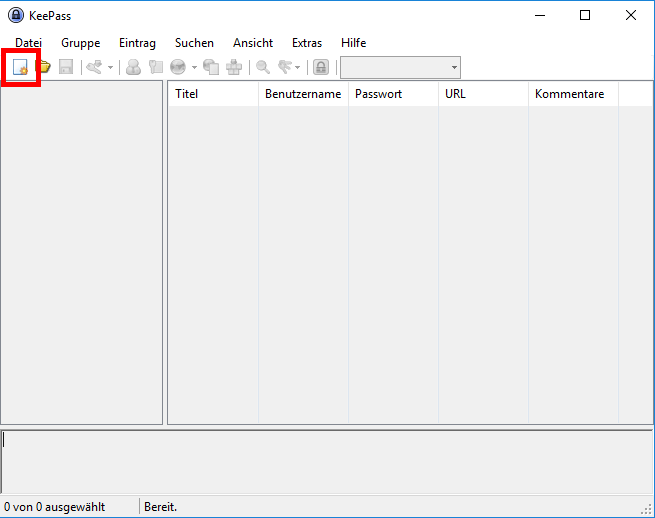
Step 1:
- Click on New.
- Confirm with Ok.
- Select the location where you want to save the file and enter any file name.
Tips
Save your KeePass database not only locally, but also on a network drive (for example, on the group drive) or in the Hessenbox. Otherwise, you would lose all your passwords if you accidentally delete the file on your local machine or your machine stops working.
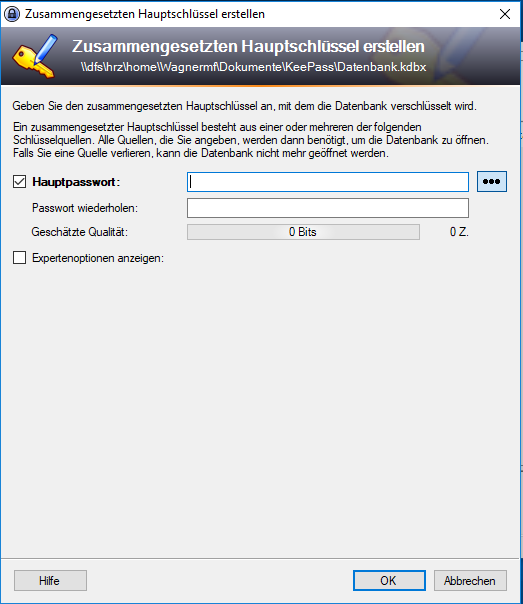
Step 2:
- Choose a strong master password (the higher the number of characters, the better).
- Repeat your input.
Tips
The main password protects your database from unauthorized access. If you forget the password, you will no longer have access to your database. If you use special characters, upper and lower case, and numbers, you significantly increase the security of your password. For more information, see: How do I create a secure password?
If you check "Show expert options", you can create a key file. A key file makes your database even more secure. When you create a key file, you always need the file and the password to open your database.
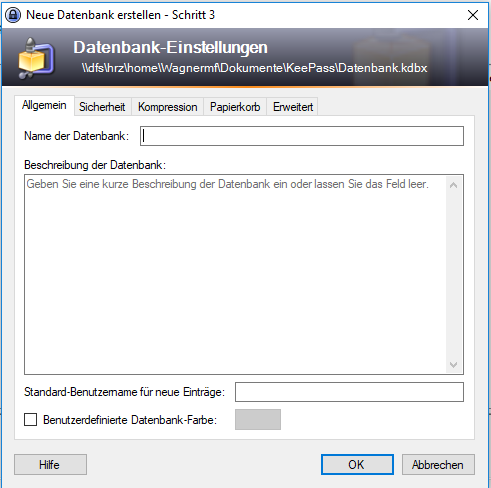
Step 3:
- Optionally, you can enter a database name again. If you do not enter anything here, the file name will be used.
Groups
On the left side you see your groups (groups are folders/categories), which are only for clarity. For example, you can put your email credentials in the "eMail" group.
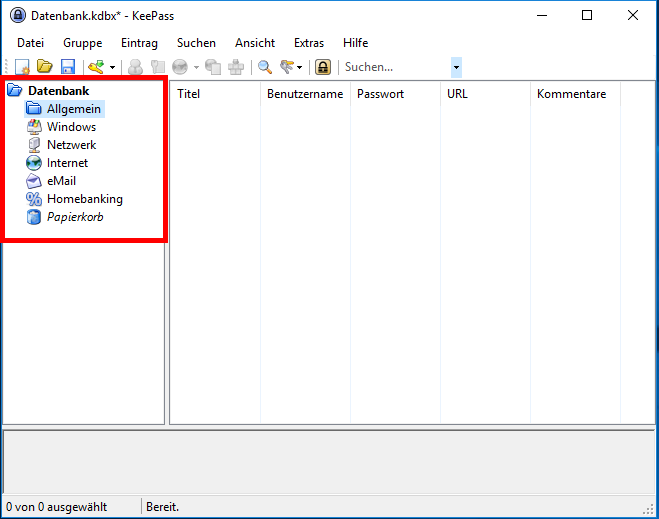
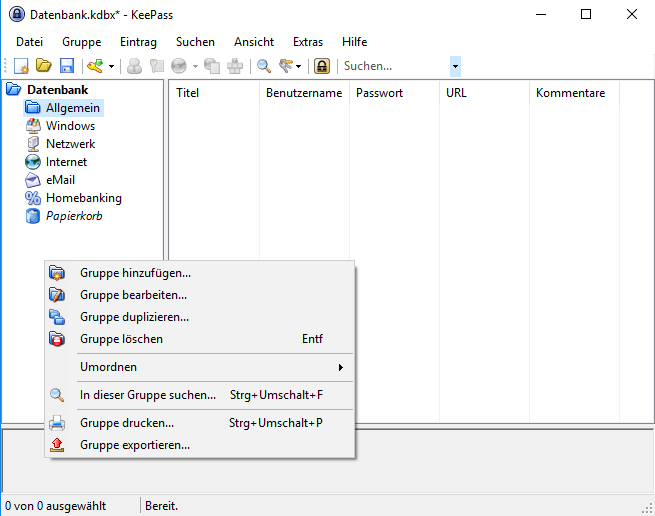
With a right click on the left side in the groups area, you can create new groups, browse groups or reorder the entries.
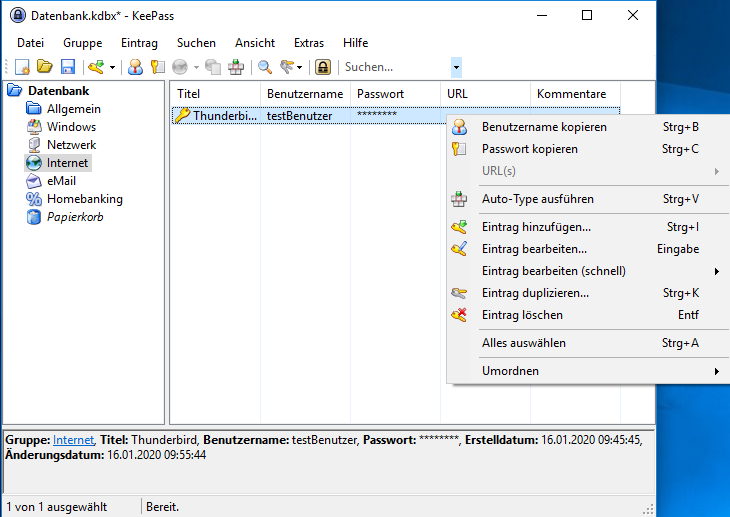
Add entries
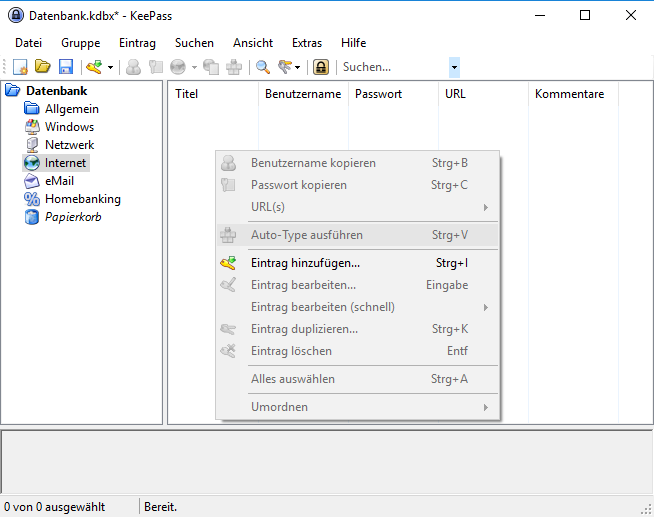
Step 1:
- Select a group in which you want to create a password entry.
- Add an entry by right-clicking in the right half.
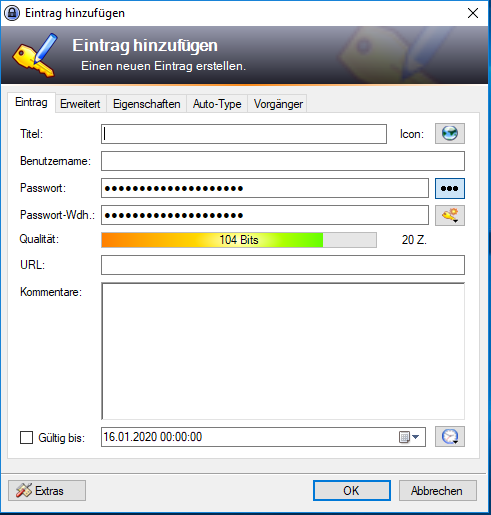
Step 2:
Next you have to assign a name to your entry (ex: Uni Marburg CMS2 account). Then enter your user ID and password. If it is an internet page, you can enter the URL (internet address).
- Enter a title for the entry.
- Enter your user name.
- Enter a password.
- Repeat your password.
- Add an internet address in the URL field if it is an account for a web service (optional).
Do not forget to save! - Remember to save your database after you have added a new entry (using the floppy disk icon or the key combination Ctrl + S).
Tips
KeePass helps you create passwords. By default, KeePass generates a password for you. If you click on the button with the three dots, you will see the suggested password in plain text. Of course, this is only useful if you are creating a new account or changing your password. For existing accounts, you will need to supplement the suggested password with your currently used password.
Example of an entry:Title Uni Marburg CMS2 Account Username testUser Password ******** Password-rep ******** URL https://cms2.uni-marburg.de
Use KeePass
- Open your database by double-clicking on the file.
- Select a group on the left.
- Right-click on a password entry on the right.
- Copy your username and/or password.
- Paste username or password into the respective application within 12 seconds.